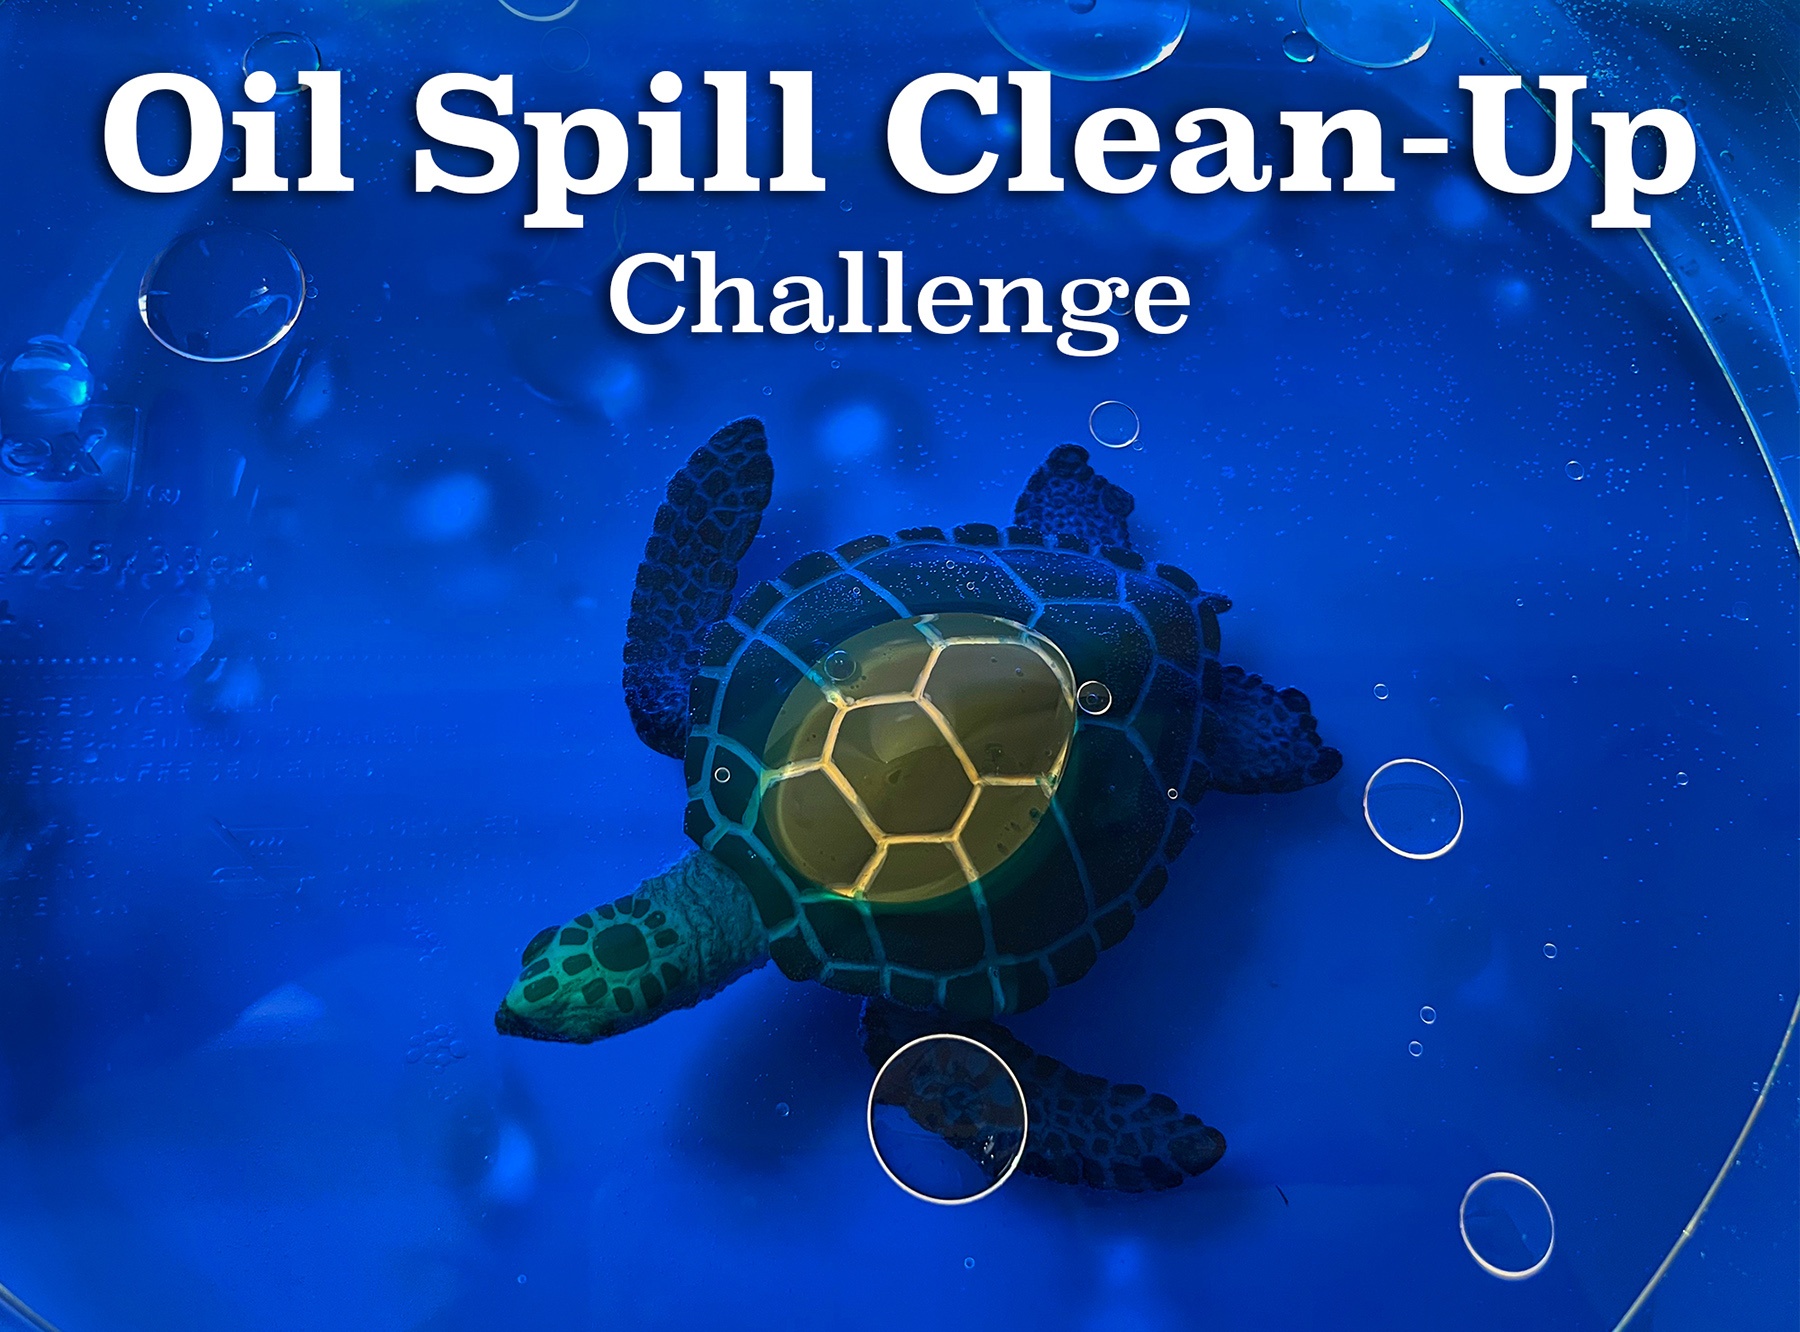
We're celebrating Earth Day with an ocean-sized STEM challenge your students will love. Read our April blog post to learn about an environmental science activity that helps children understand the devastating effects of an ocean oil spill by recreating an oil spill of their own. You and your little learners will work together to devise a plan to clean up the oil spill and keep our extraordinary planet healthy. Read on to find out more!
Here are the supplies you will need to round up for your oil spill science experiment:
Once you have everything you need, you can roll out this experiment in two phases. In the first part, your students will create the oil spill and observe the interaction of the oil and water. In the second part, students will work together to use different materials and methods to try to contain and clean up the oil spill.
Ocean oil spills are devastating environmental disasters that occur due to human accidents or careless practices and have far-reaching consequences for the environment. Begin the activity with a discussion of what oil spills are, why they happen, and how they impact the environment. You may even want to pair this science experiment with a children's book about oil spills, like Oil Spill! (Let's-Read-and-Find-Out Science) by Melvin Berger for younger children from four to eight years old or Gulf Oil Spill (Disaster Alert!) by Lynn Peppas for older children from eight to eleven years old.
To set up the oil spill, fill a glass baking dish or plastic food storage container halfway with water.
Add a few drops of blue food coloring to the water to help create a contrast between the water and oil.
Fill a liquid measuring cup with vegetable oil. (You could also use another type of cooking oil, like olive oil.) We used about 1/4 cup of vegetable oil.
Place a few plastic sea animal toys in the ocean water in your container.
If you are using feathers, add them to the water now as well.
If you have a plastic boat toy, you can float it in the water too. You could pour the vegetable oil into the plastic boat toy before your students "spill" the oil from the boat into the water, simulating the onset of the disaster. If you don't have a boat toy, simply pour the vegetable oil into the water from your liquid measuring cup. Students will observe the interaction of the oil and water. Ask them to share their observations with the class. Students will also note how the oil interacts with the feathers. (For dramatic effect, you may want to saturate the feathers with oil before adding them to the water or pour some oil directly onto the feathers to ensure absorbency.)
Now students will experiment with different materials to figure out the best way to clean up the oil spill.
Can they "scoop out" the oil with a spoon?
Can they use cotton balls to absorb the oil?
How about a kitchen sponge? Does that work any better?
After children experiment with methods for removing the oil, turn their attention to the oil-saturated feathers. How can we remove the oil from the feathers of birds who come in contact with the water pollution?
Students can try blotting out the oil with the cotton balls, sponge, or even a paper towel.
After trying these methods, have students use the dish soap to clean the feathers. Does the dish soap get the oil out?
Conclude the activity with a discussion of the effectiveness of the different methods and materials you tried as a class to clean up the oil. Emphasize the fact that all methods are difficult, take a lot of time, and may not effectively remove all of the oil. This illustrates the devastating effects of real-life oil spill disasters.
Finally, examine how scientists and disaster-relief workers clean up a real-life oil spill. Students may find it especially fascinating to explore the innovative technologies scientists have developed to clean up the oil as well as the ways humans can help the animals affected.
We hope you and your students find this oil spill activity both exciting and impactful. By helping little ones understand our impact on Planet Earth, we can encourage them to care for the world around them on Earth Day and all year round.
Did you and your class try out this Earth Day STEM experiment? Tell us how it went! Drop us a line in the comment section below. Remember to tag @superteacherworksheets on social media so we can check out your Earth Day adventures!
Looking for more fun, educational science activities for your elementary students? Visit the Super Teacher Worksheets Science Collection to explore popular science activities your class will love!
You may also like: