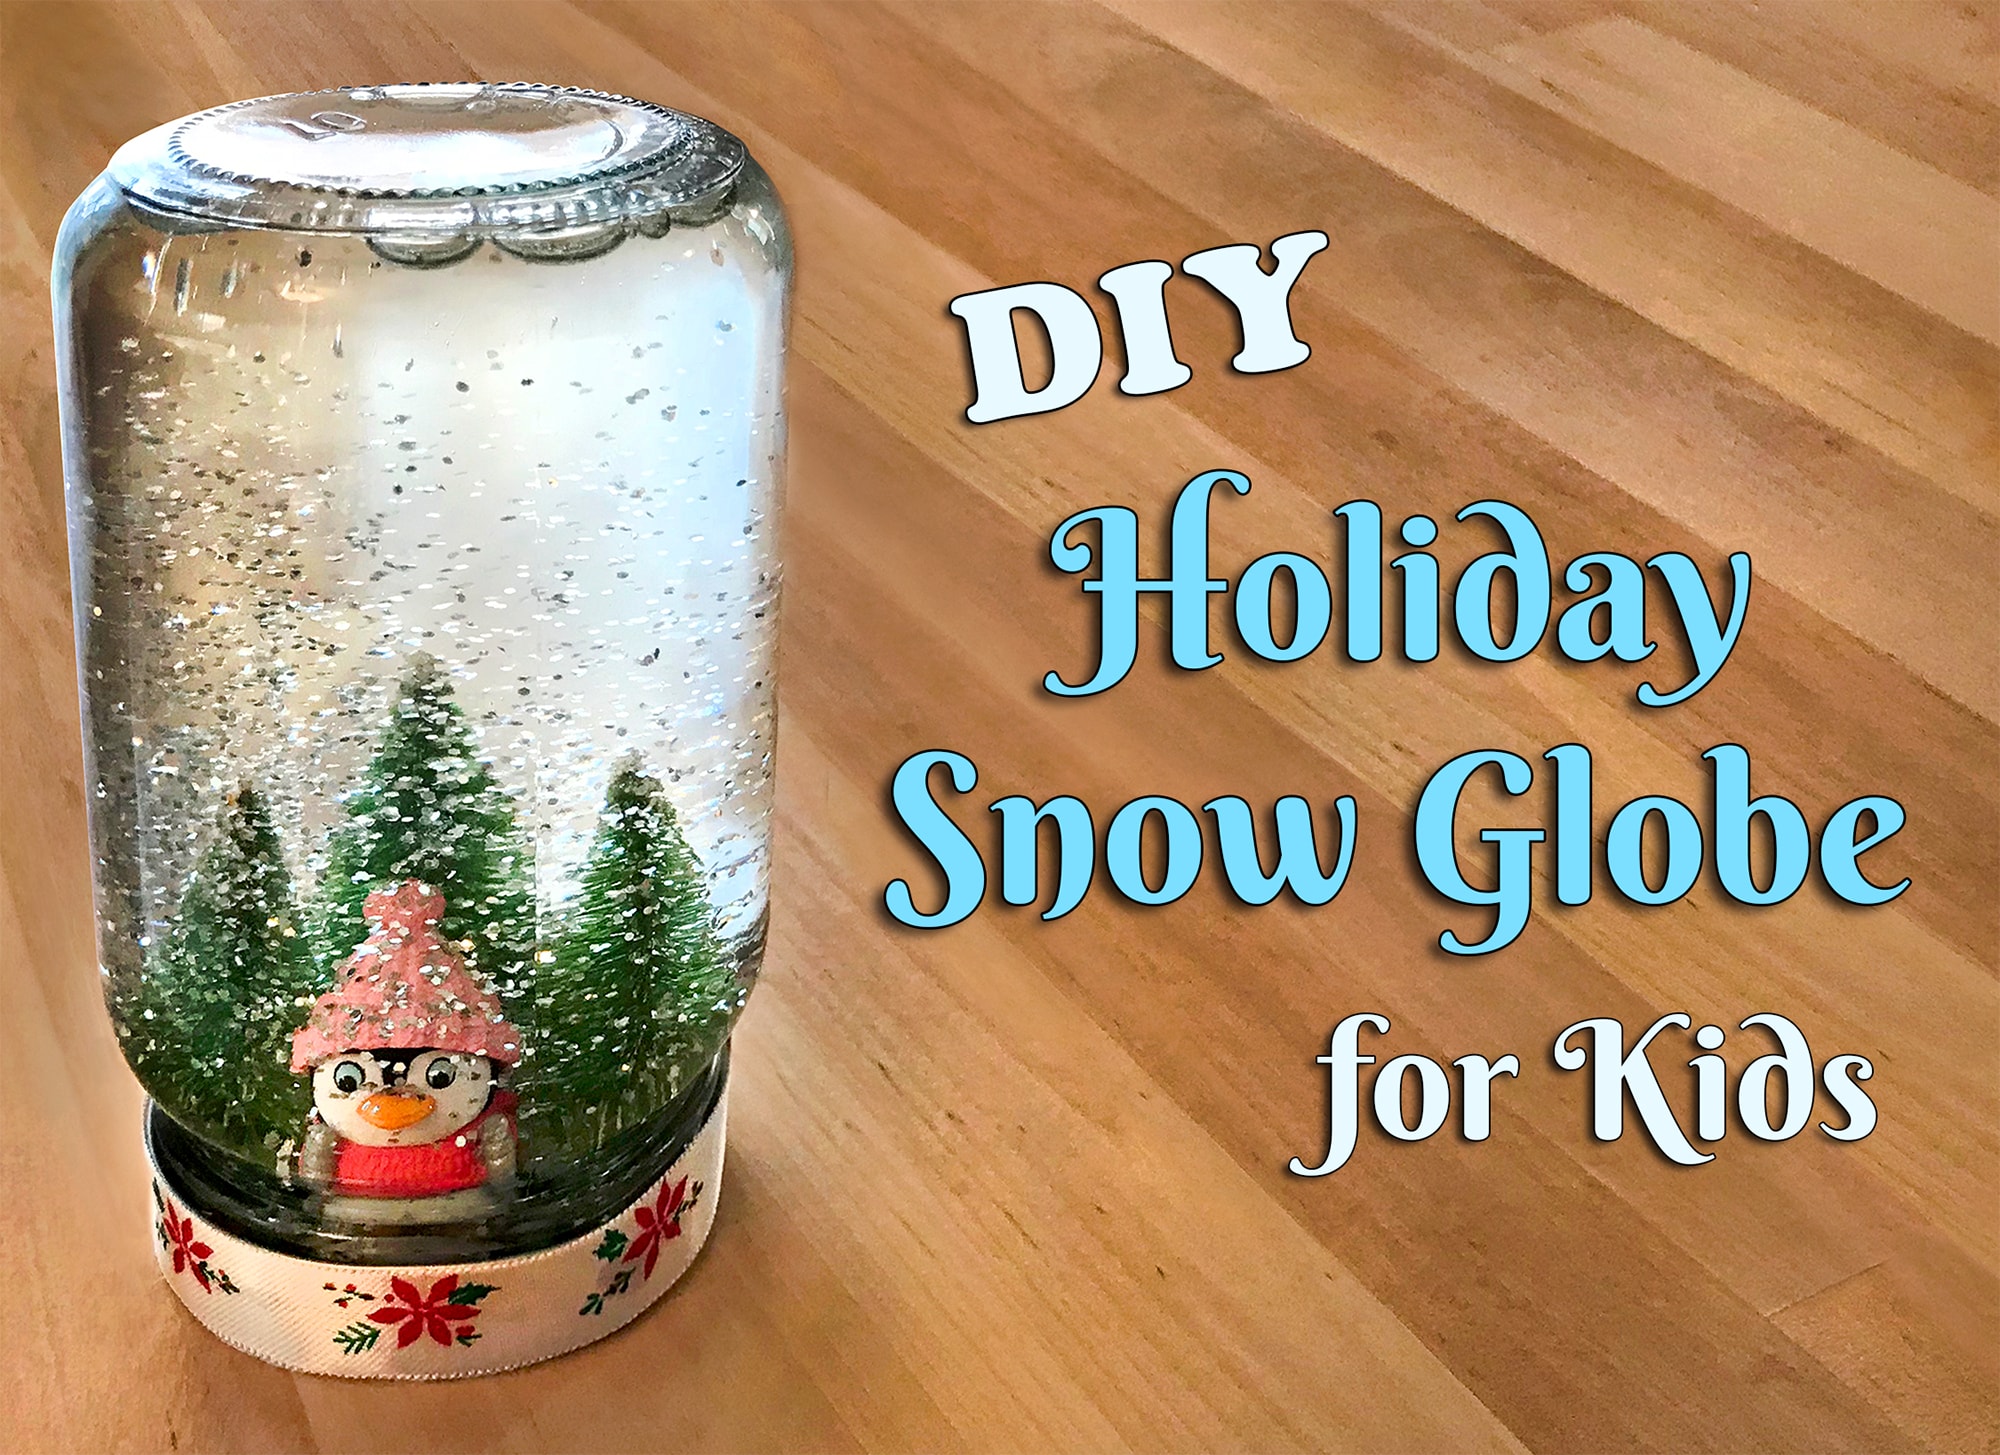
Celebrate the magic of the holidays with this enchanting snow globe craft kids will love! In our December blog post, we'll show you how to make your own winter wonderland snow globes with just a few arts and crafts supplies. Read on to learn how to make beautiful snow globes for decorating, gift-giving, and admiring this holiday season!
Kids of all ages will love making their own Christmas snow globes! This holiday art project is a fun activity to do together as a class or to try out at home with a parent's supervision. Since this Christmas activity requires the use of hot glue, we strongly recommend that an adult handles the hot glue gun at all times.
Be sure to tag @superteacherworksheets on social media so we can admire your little ones' wintery snowscapes!
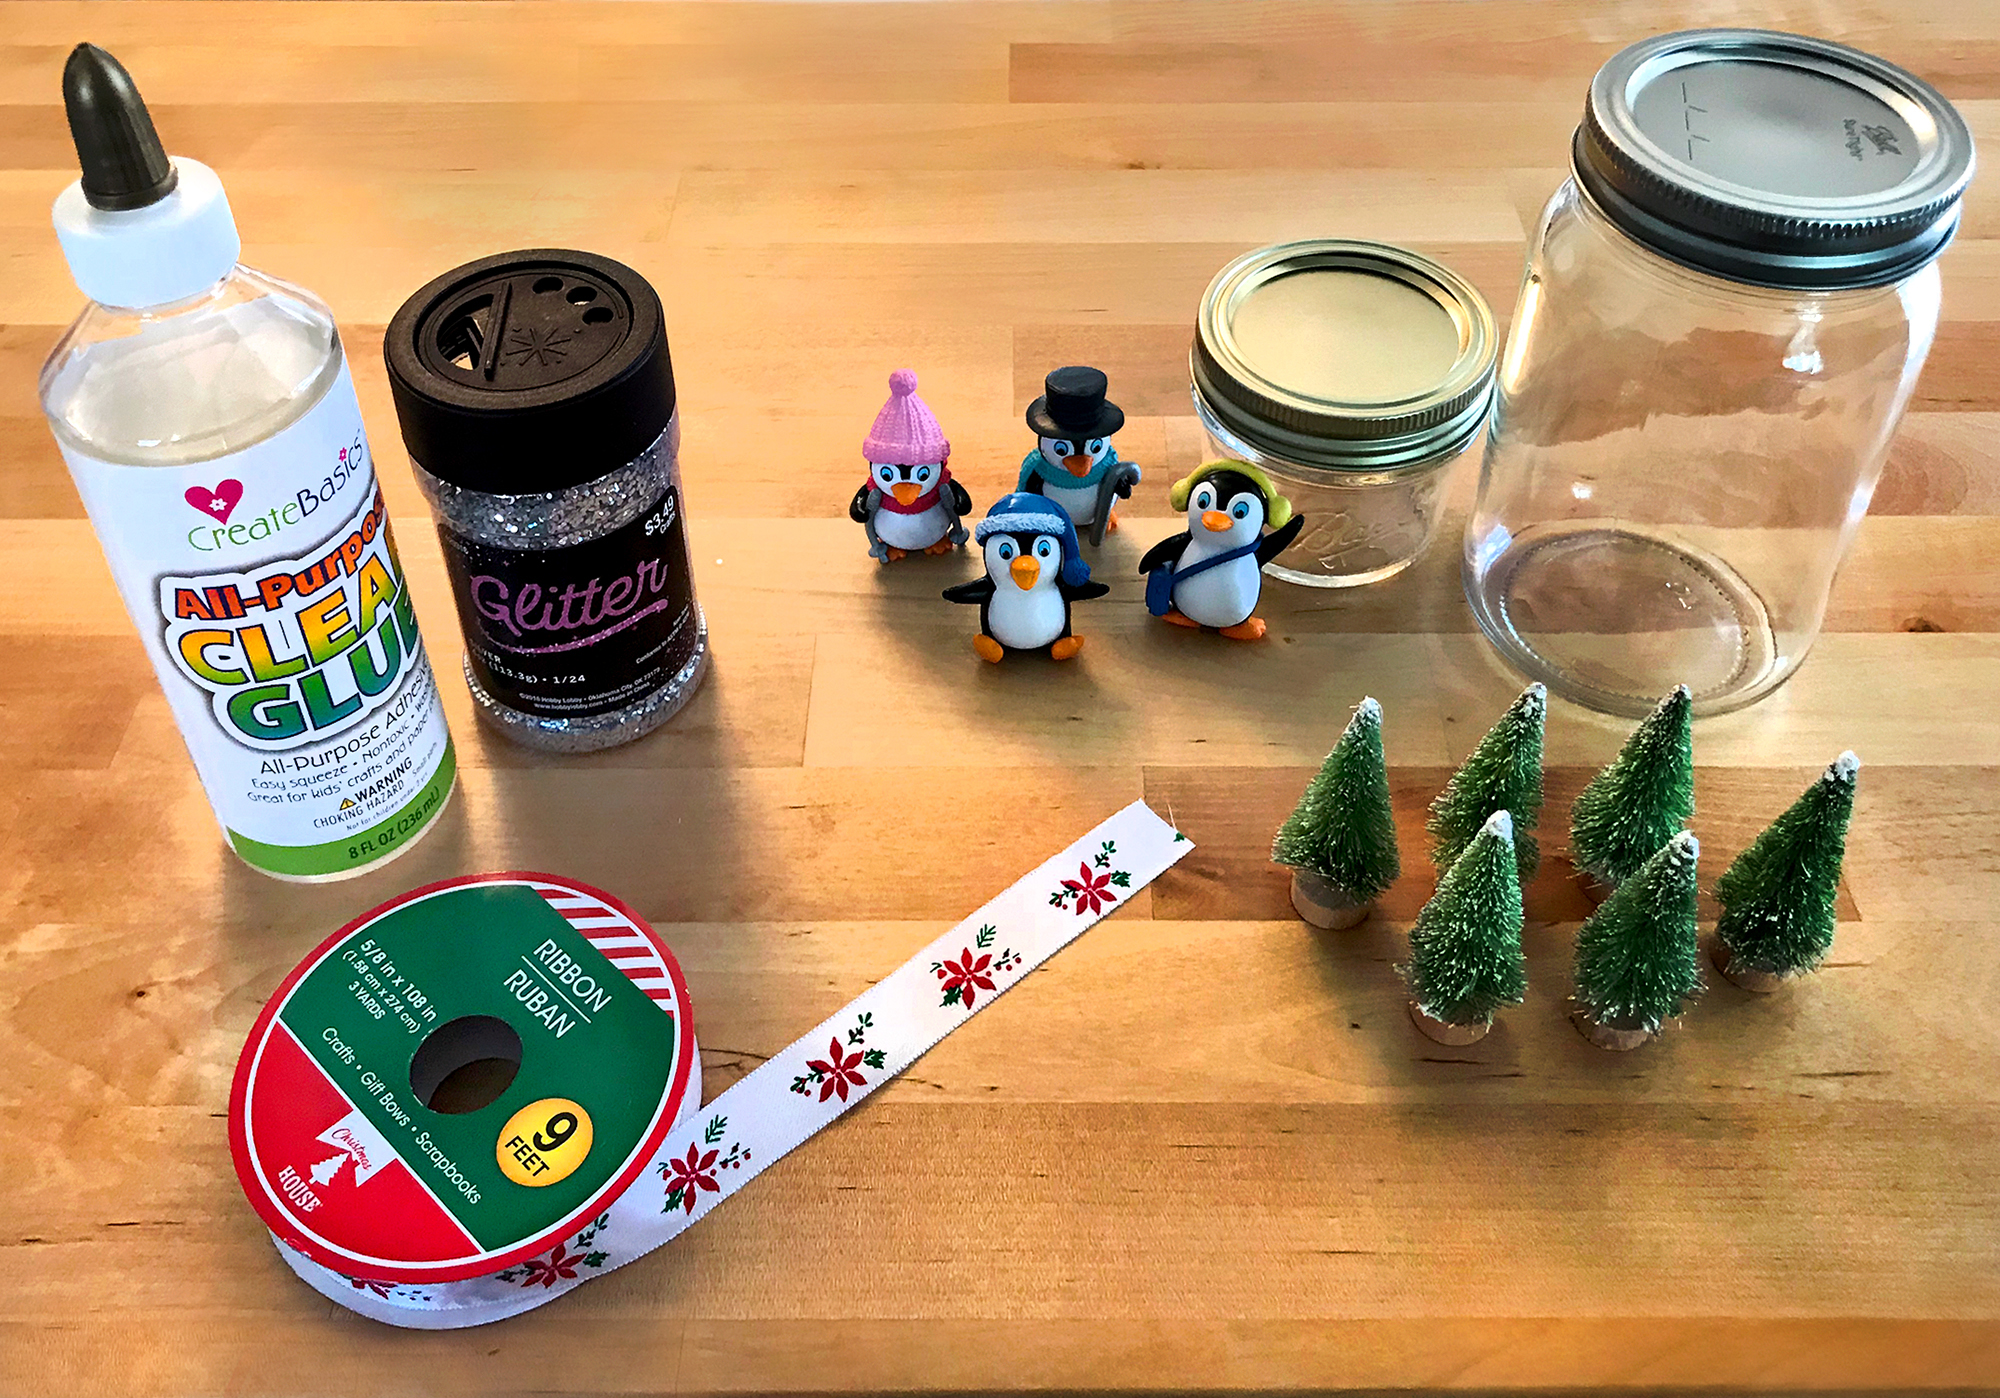
You only need a few supplies to put together these adorable snow globes! Here's what you will need:
It's really up to you how large or small you would like your glass jars, and thus your snow globes, to be. You will want to select jars that can accommodate the plastic toys or figurines you would like to use as the focal point in each snow globe. We suggest choosing toys, figurines, or ornaments that are small and easy to situate in the glass jars. You will want to get ahold of some vegetable glycerin (a surprisingly common item you can find at your local grocery store or Walmart) or some clear liquid glue. Either of these ingredients will help to thicken the water in the snow globes and help the glitter to swirl and descend slowly, creating a mesmerizing effect. You can choose whichever variety and size of glitter particles your students would like to use in their snow globes. Finally, the hot glue will be an important tool for adhering the focal points of the snow globe to the lid of the jar, which will serve as the base of the snow globe.
This fun project comes together in a few easy steps. Once you have gathered all the supplies, guide your little ones through each step as they put together their holiday snow globes.
Step 1: Glue the Focal Point Figurines to the Lid of the Glass Jar
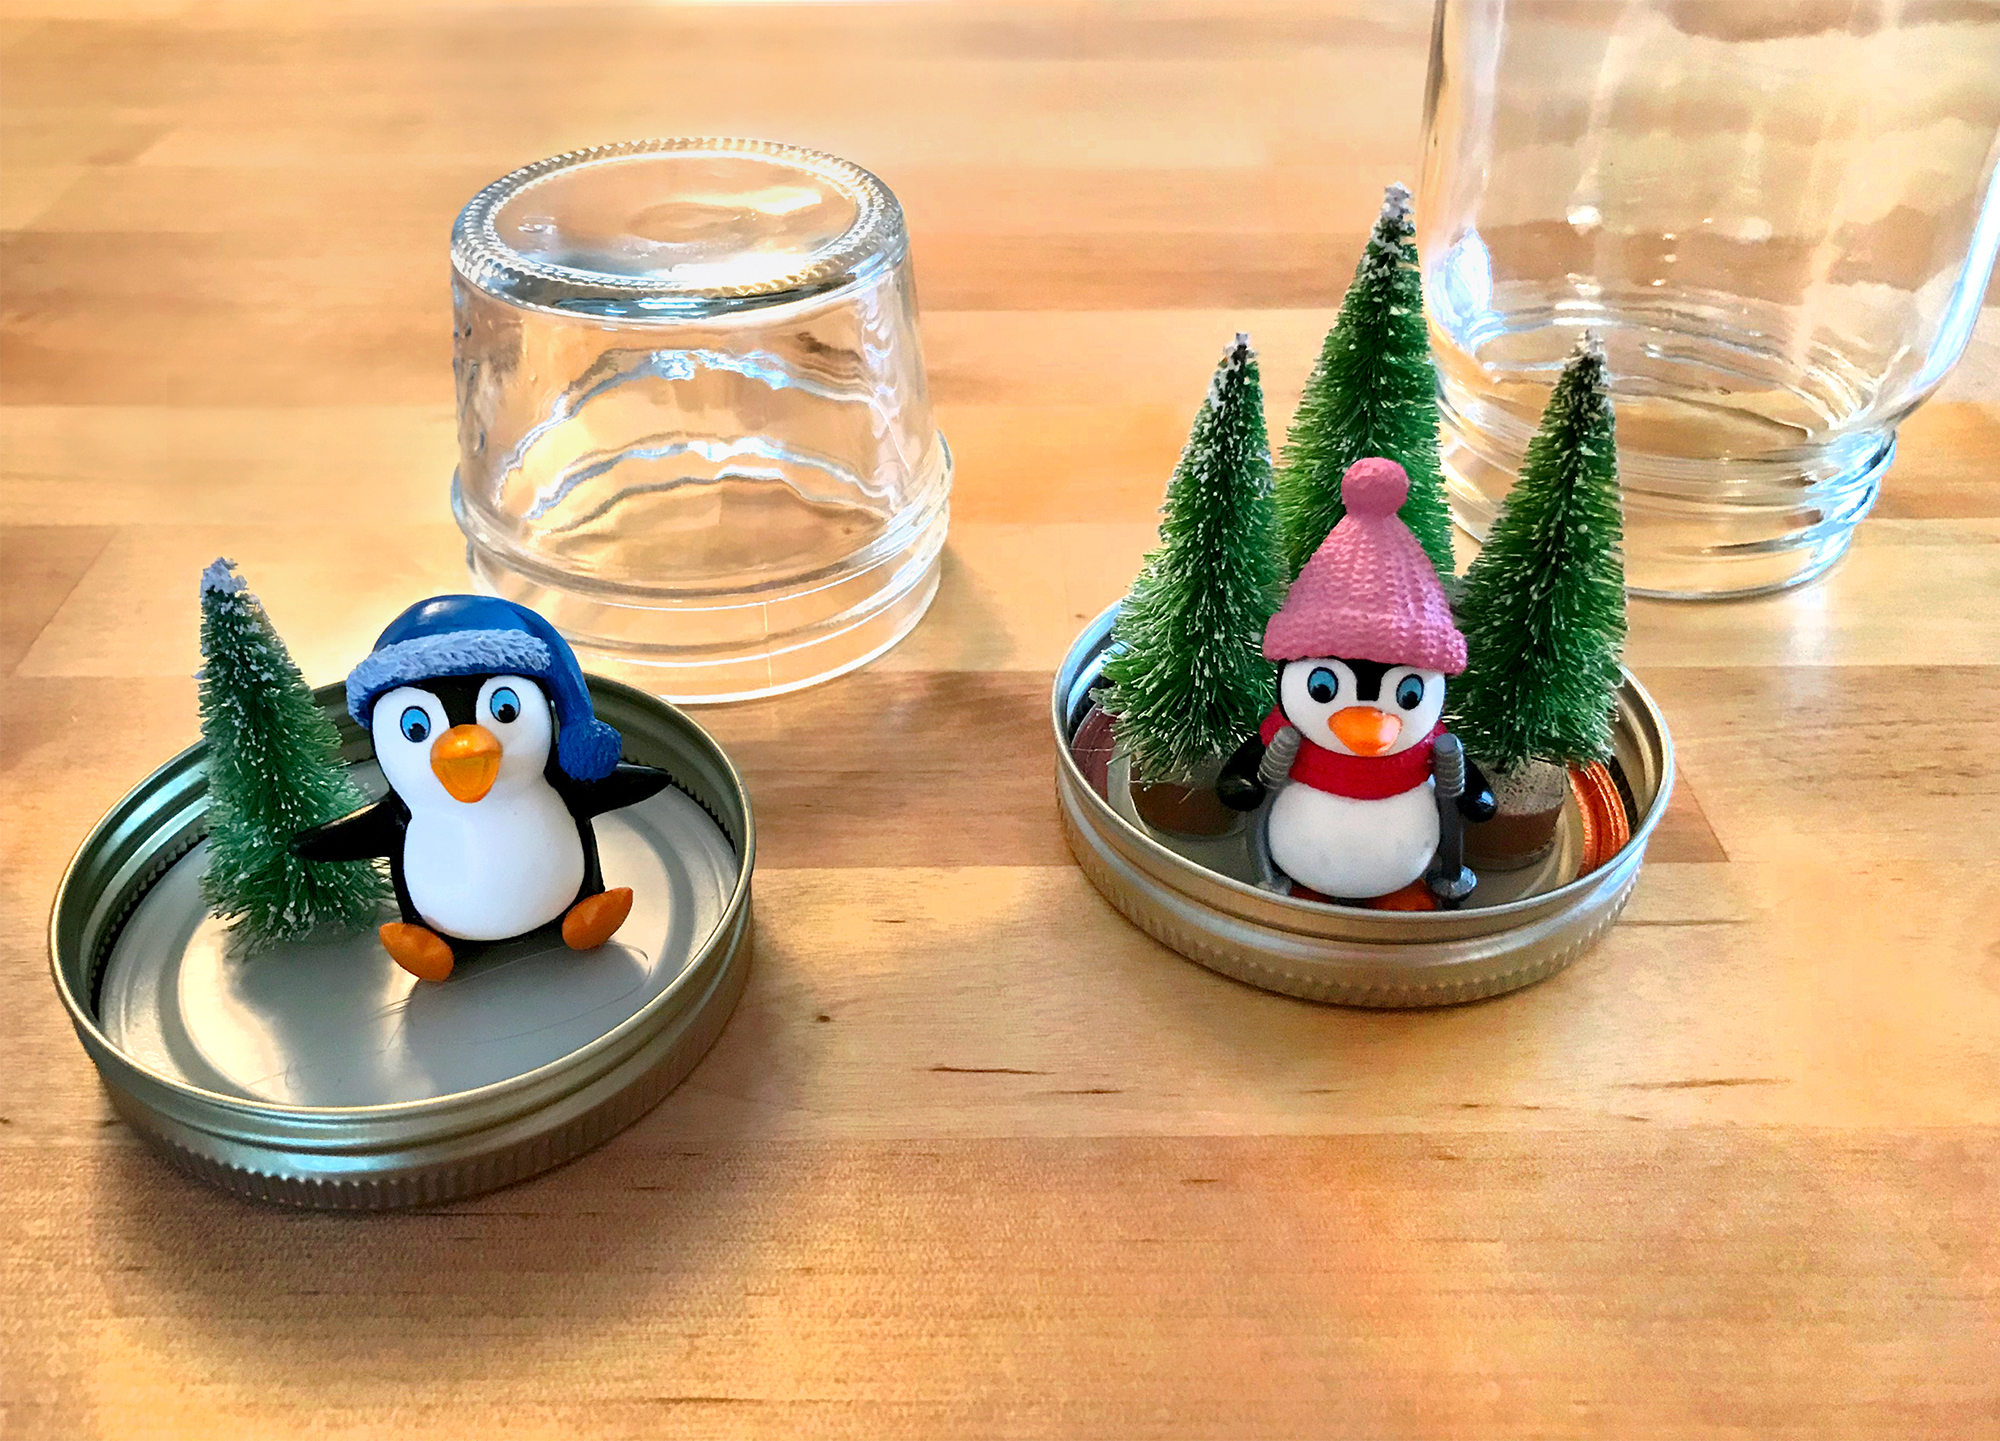
Since hot glue will be required for this first step, plan on doing this part yourself while the kids gather around to watch. Use the hot glue gun to adhere a generous amount of glue to the base of each figurine, then attach the figurines to the lid of the glass jar. Press the toys firmly in place and make sure they are secure before moving on to the next step.
Step 2: Fill Jar Halfway with Water and Add Glitter and Glycerin
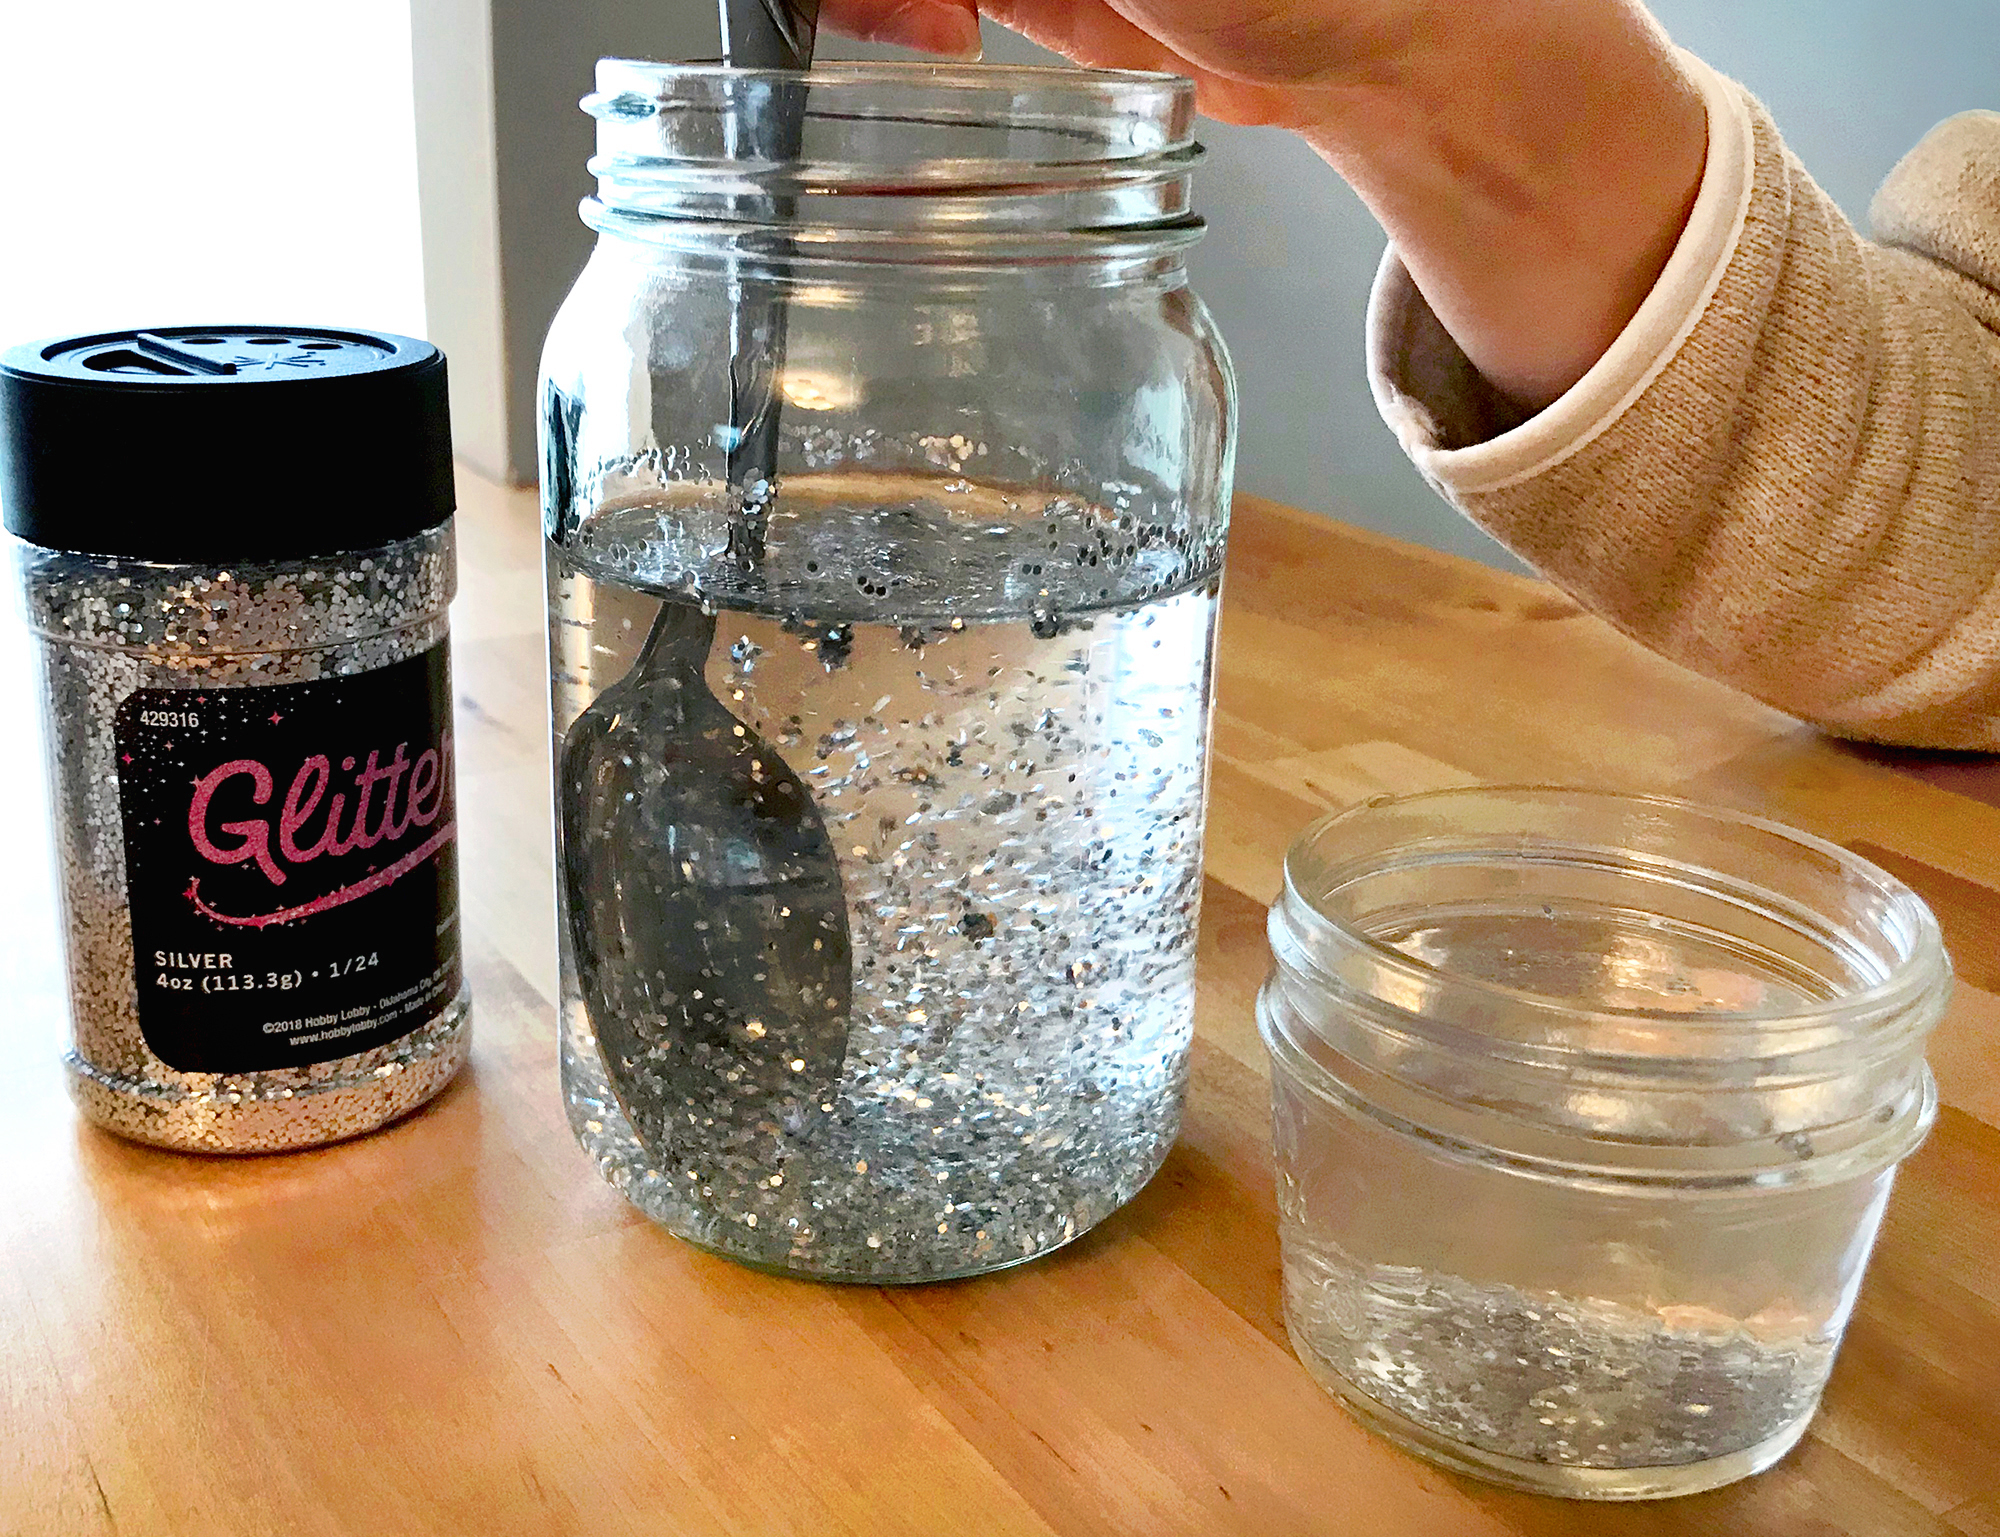
Have little ones fill the glass jar about halfway with the distilled or purified water. (Regular tap water may have minerals and other additives that will result in a cloudy-looking snow globe.) Students can add one or two tablespoons of the glitter and one or two tablespoons of the glycerin or glue. These amounts are very forgiving, so use less or more of each according to how glittery and thick you would like the water in the snow globe to be. Once your students stir the add-ins to mix well, they can add the rest of the distilled water to around the upper part of the jar, where the top begins to curve inward.
Step 3: Fasten the Jar Lid in Place and Let It Snow!
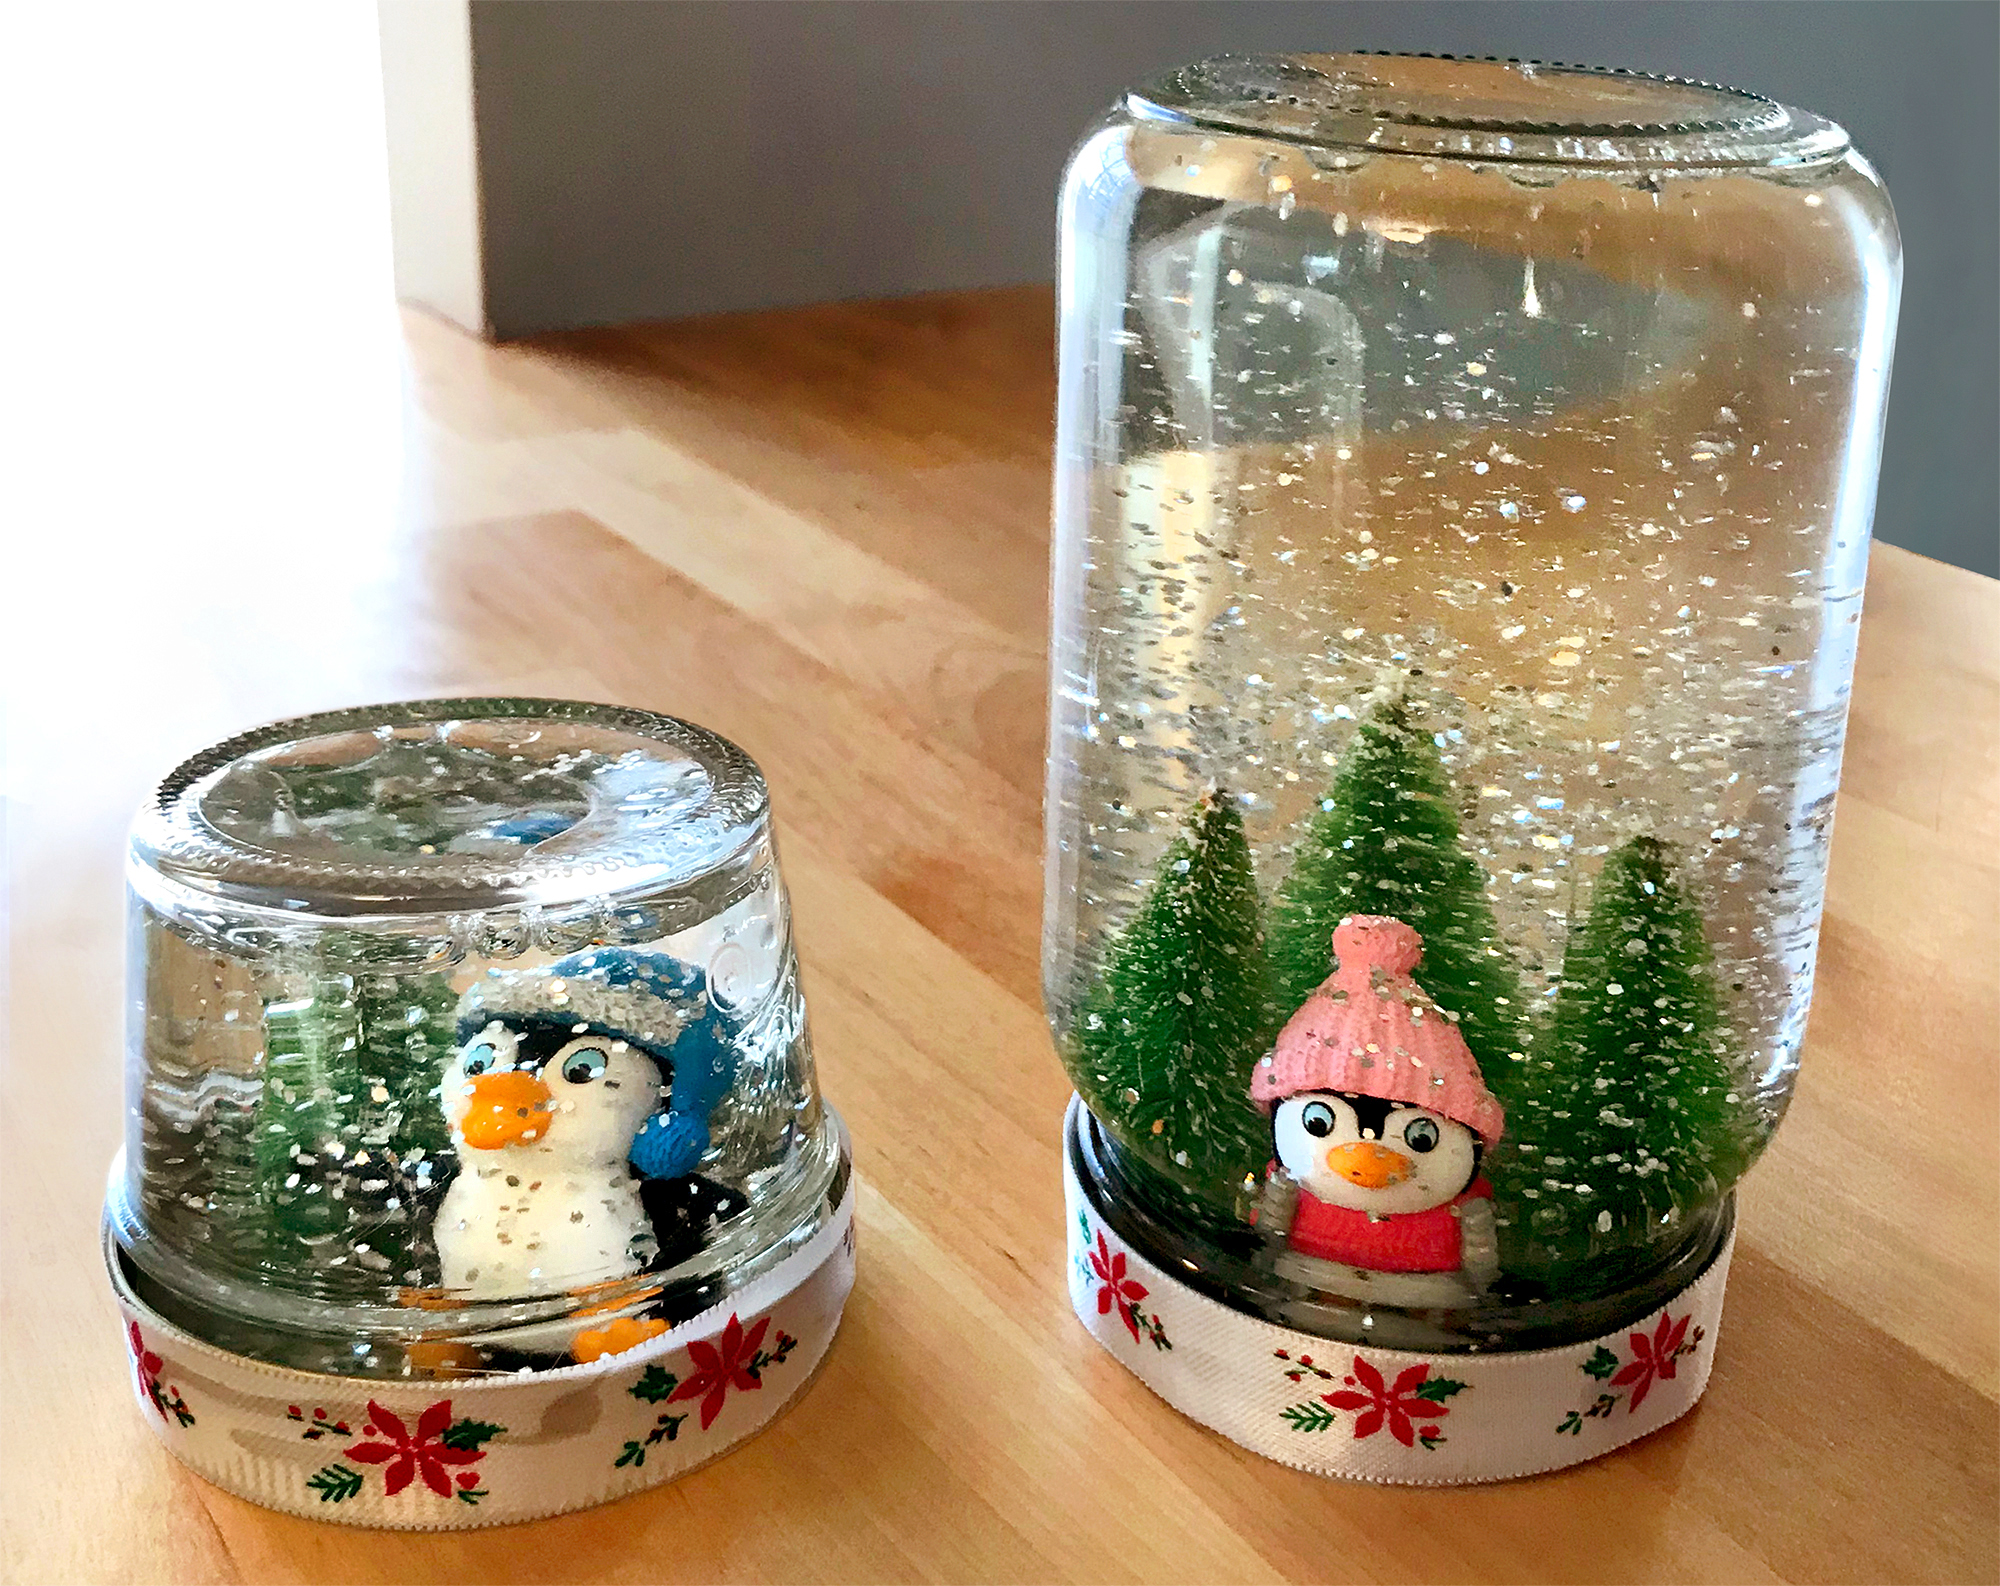
The final step couldn't be simpler! Just screw on the jar lid as tightly as you can, being sure that the figurines fit comfortably inside the jar, and flip it over! Students can give their holiday snow globe a shake and watch the glittery snow swirl and settle around their adorable winter scene.
This Christmas snow globe craft is so easy and fun to make! We're sure you and your little learners will love it! If you try out this activity with your class, please do let us know how it goes. We would love to hear from you—drop us a line in the comment section below.
If you are looking for more fun, educational activities to get your students in the holiday spirit, be sure to check out the Super Teacher Worksheets Christmas Collection! Happy holidays from the Super Teacher Worksheets family to yours!
You may also like: