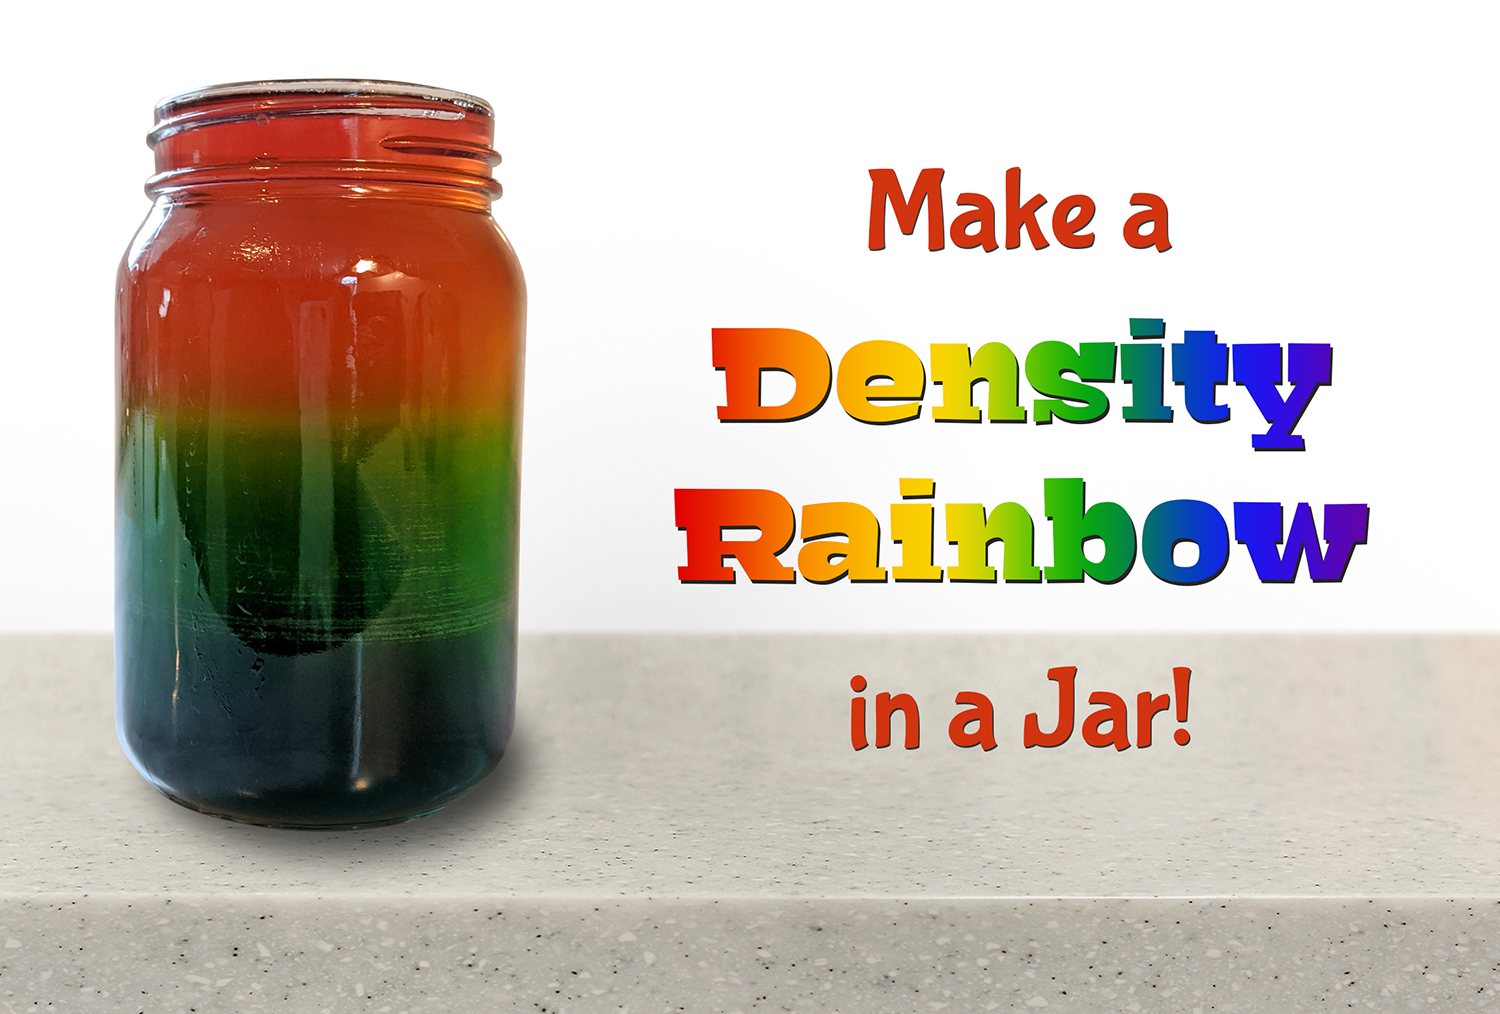
Learn all about density in this colorful spring science experiment! Students will layer sugar water with different densities in a jar to create a rainbow. This activity is very easy to do, and you only need a few pantry staples to get started. Read on to learn how you can make a rainbow in a jar!
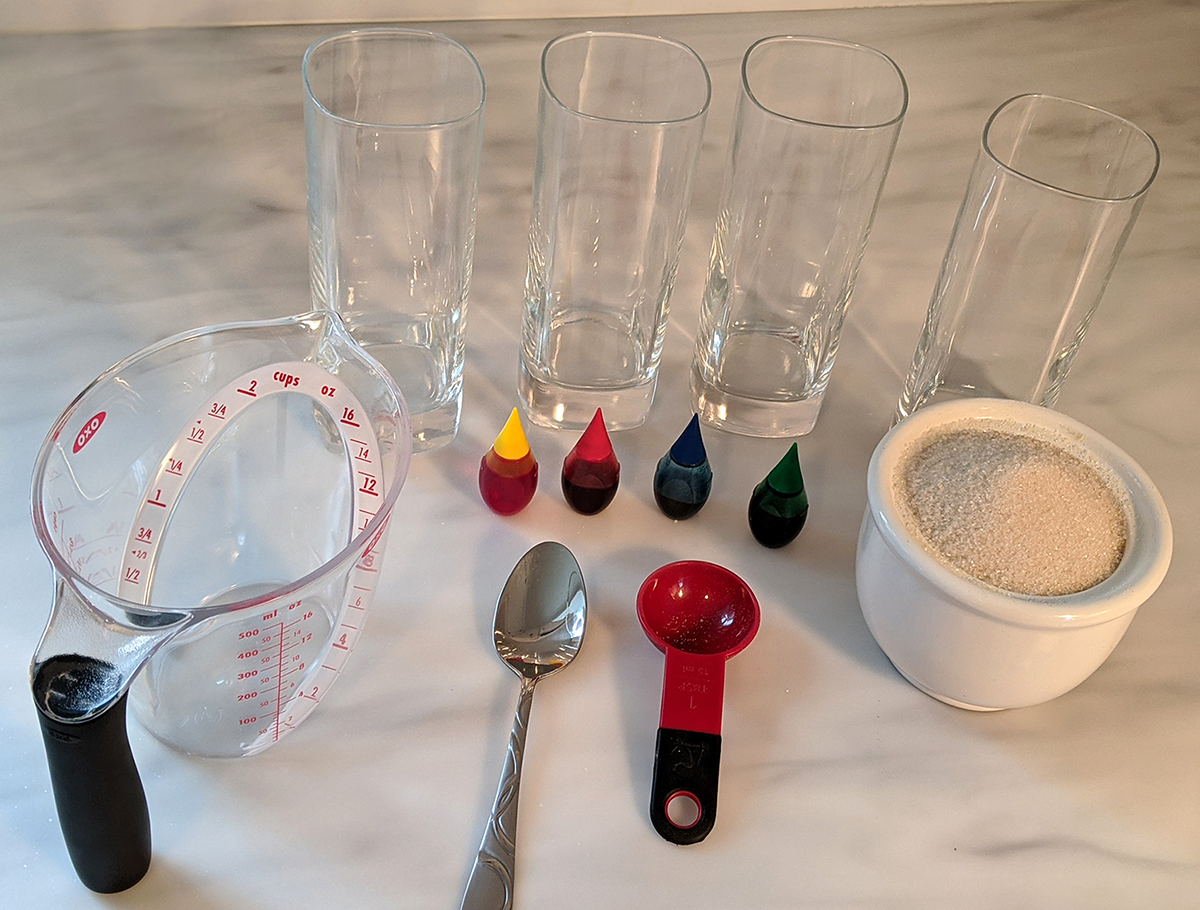
Before your students get to work on their density rainbows, you will want to have a few items on hand first. Here is what you will need for this science experiment:
This science experiment requires the use of warm water to help dissolve the sugar. For this reason, it is most easily performed in a kitchen environment, but if you are conducting the activity in the classroom, just make sure you have access to warm water first.
When you have gathered all the materials you need, you are ready to begin making a density rainbow.
First, measure a half cup of warm water into each tall glass.
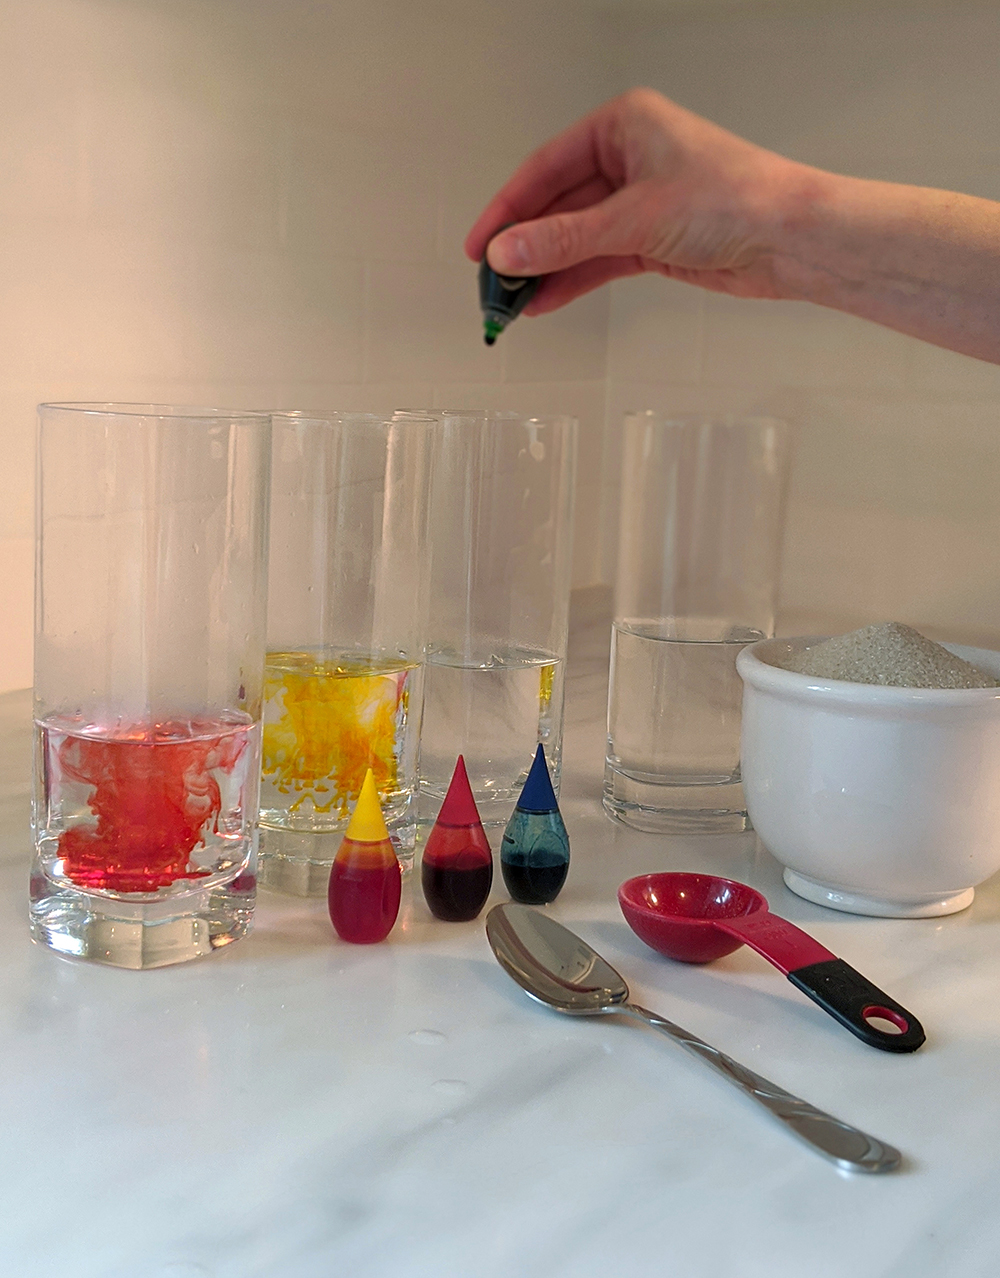
Add one or two drops of food coloring to each glass of warm water: red in the first glass; yellow in the second glass; green in the third glass; and blue in the fourth glass.
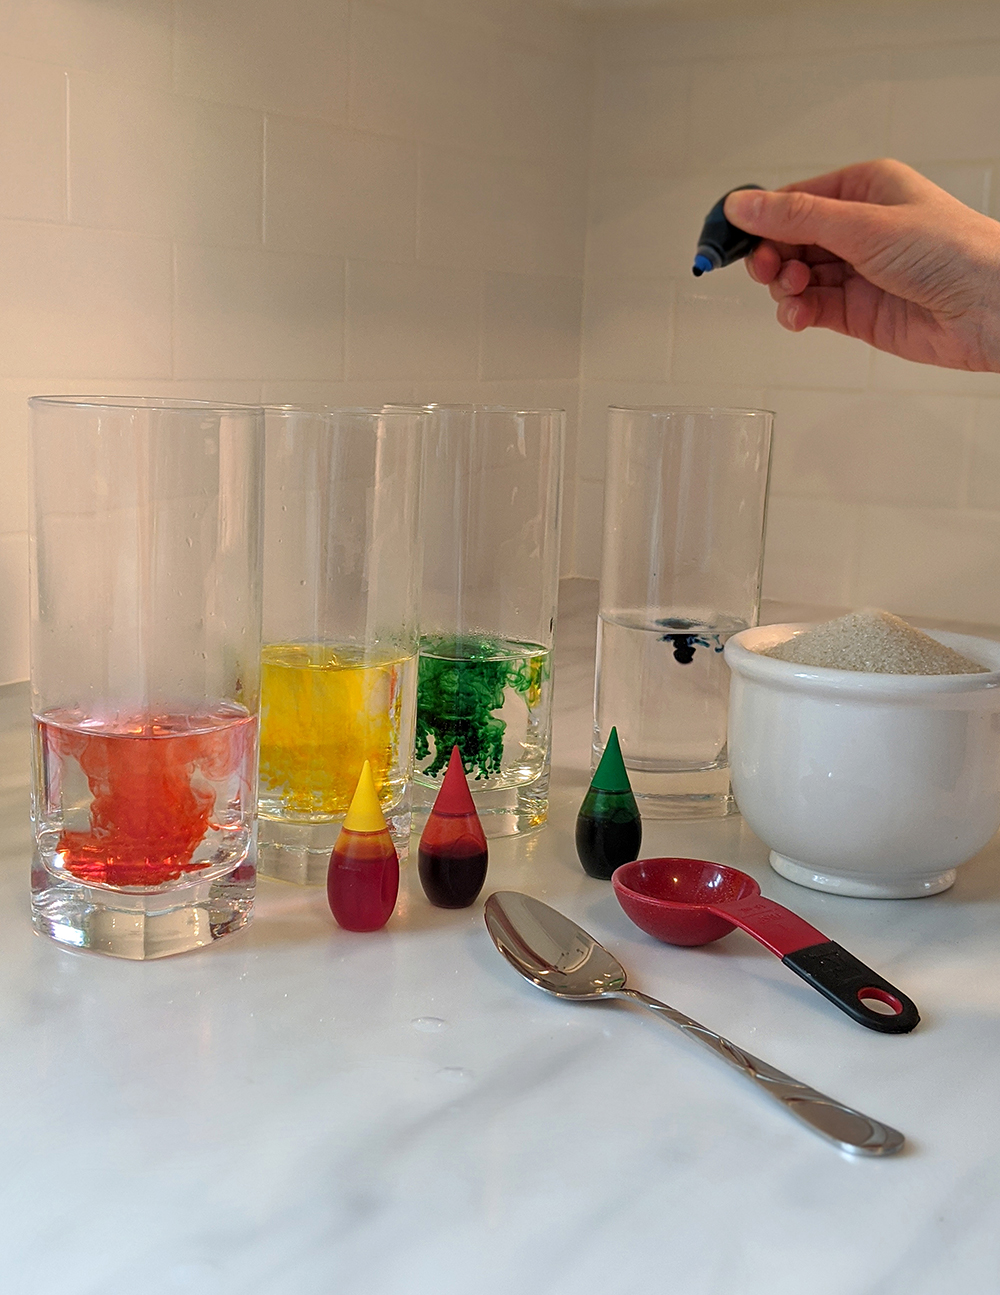
Next, add differing amounts of granulated sugar to each glass. Add two tablespoons of sugar to the red water; add four tablespoons of sugar to the yellow water; add six tablespoons of sugar to the green water; and add eight tablespoons of sugar to the blue water.
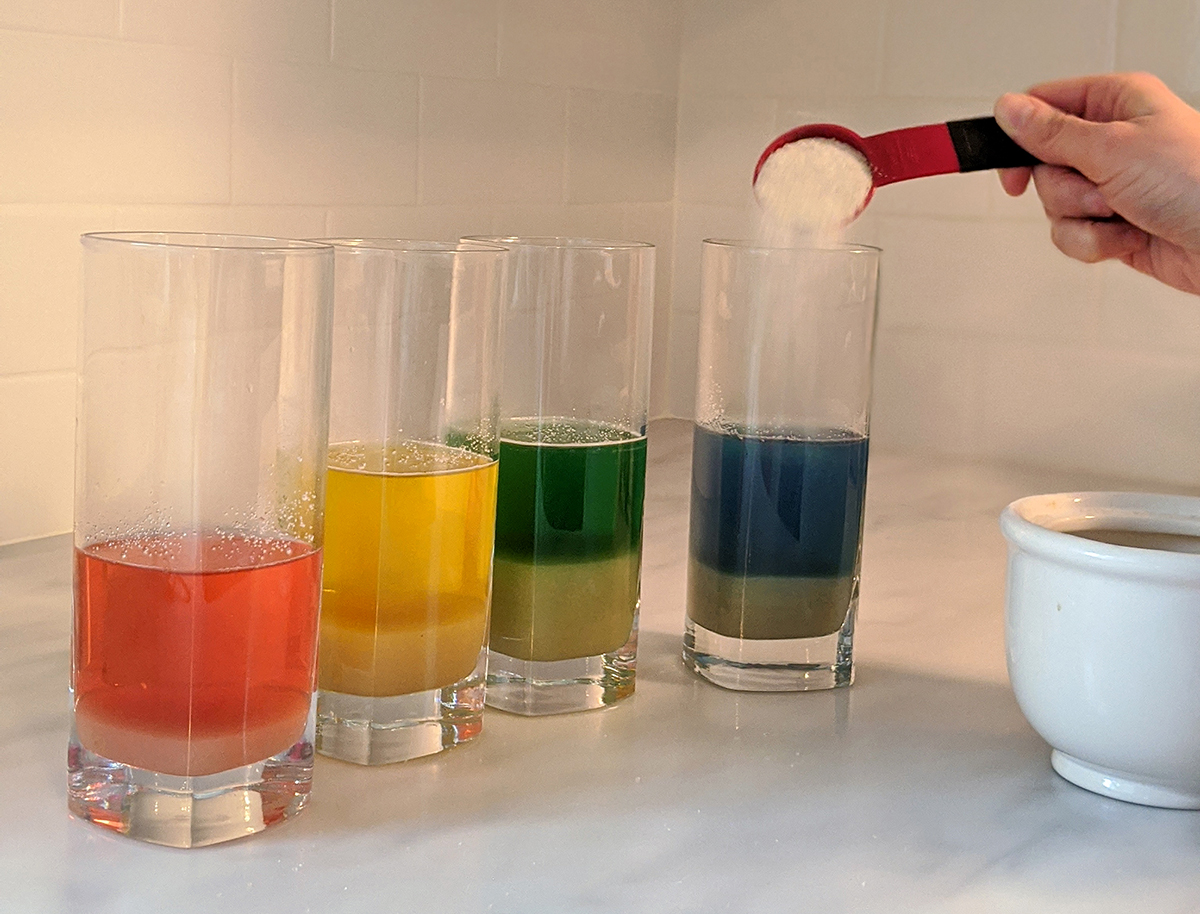
Use your teaspoon to stir the sugar in each glass until it dissolves. This should not take too long; it is important to dissolve as much of the sugar as possible, so it maximizes the density of the solution in each glass.
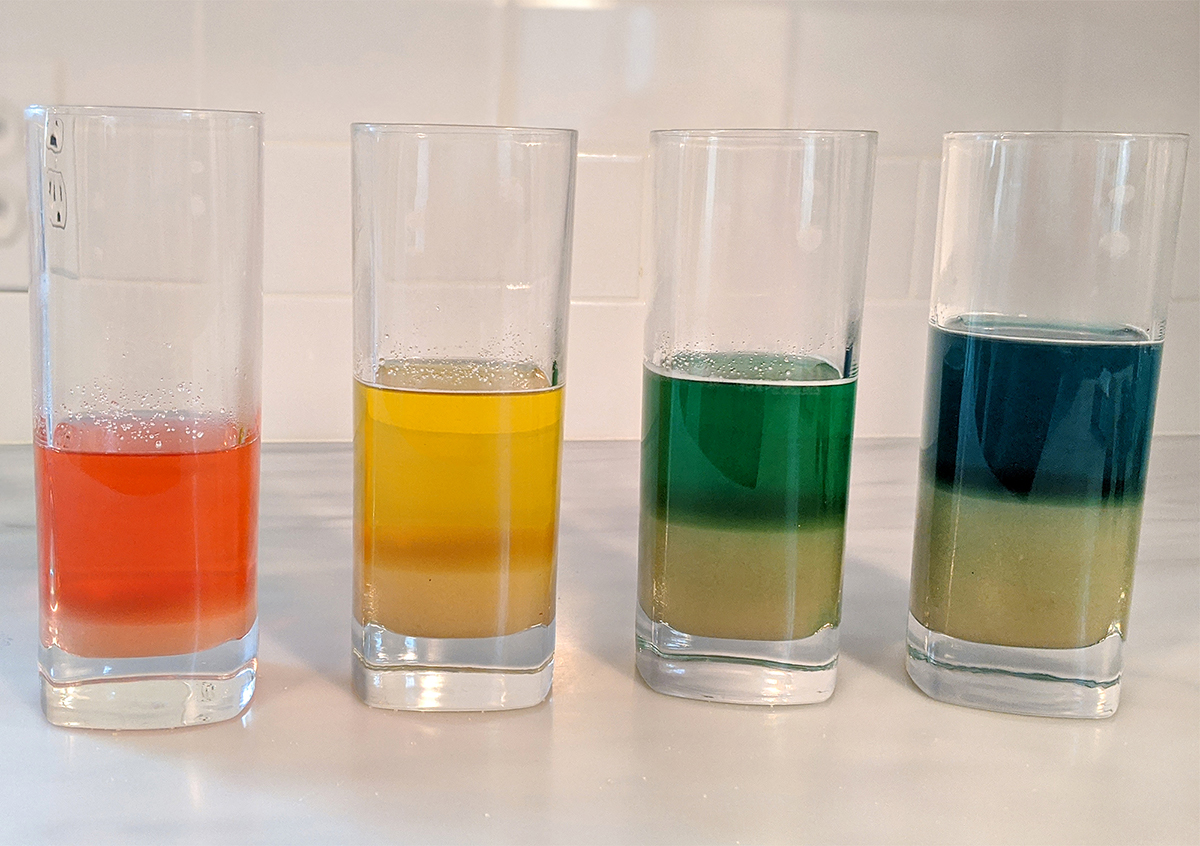
Once all the sugar is dissolved into the water, start by pouring the blue sugar water into your liquid measuring beaker. From here, you can pour the blue sugar water into your empty mason jar to begin layering the colors of your density rainbow. Try not to exceed about an inch of blue water at the bottom of the mason jar. You want to make sure to leave plenty of room to layer the other liquid colors.
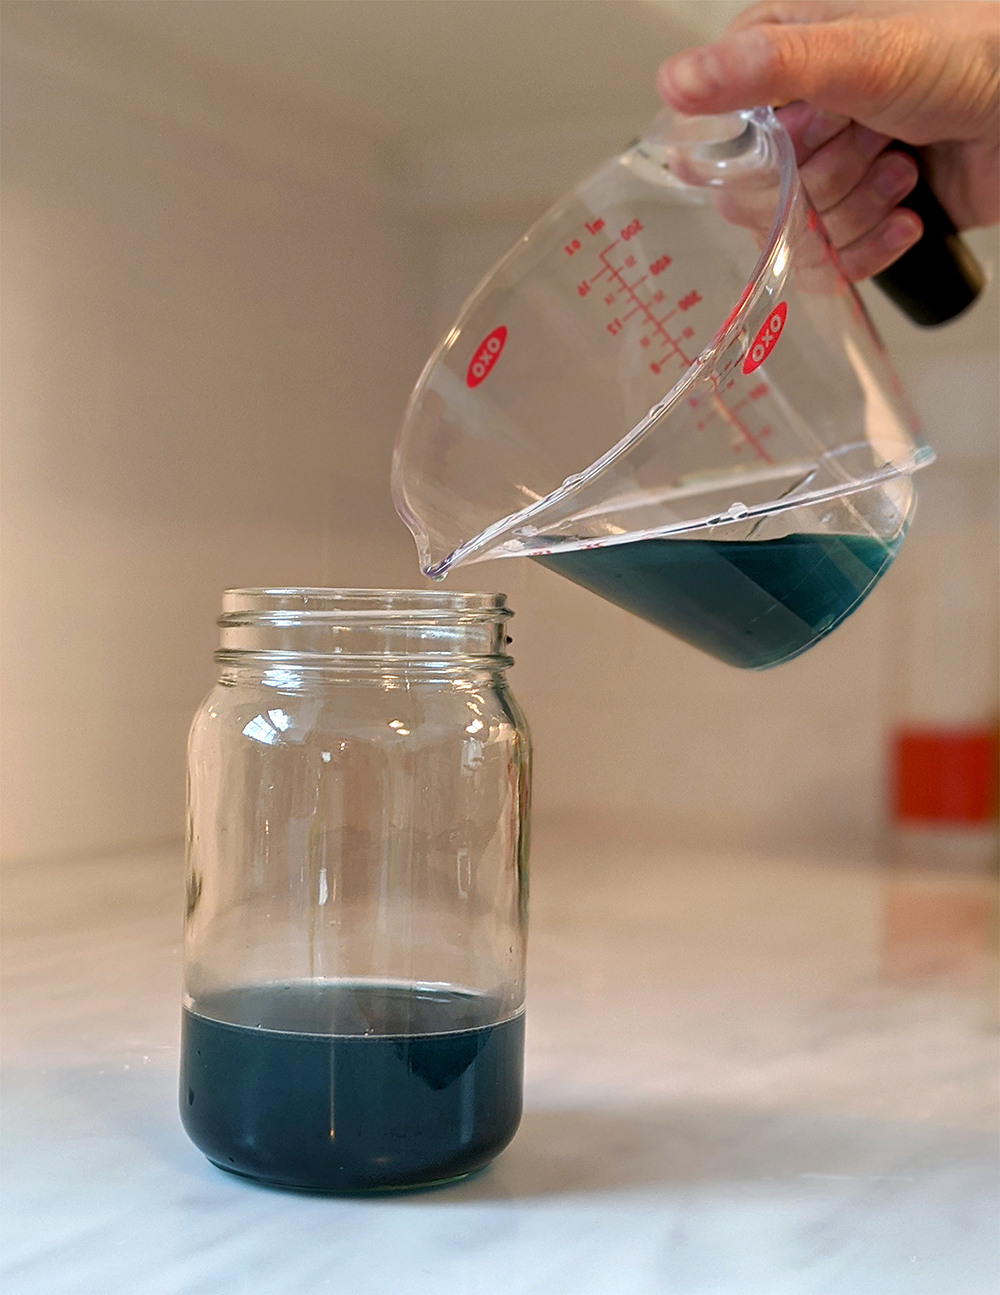
Rinse out any remaining blue sugar water from the liquid measuring beaker and pour the green sugar water into the beaker next.
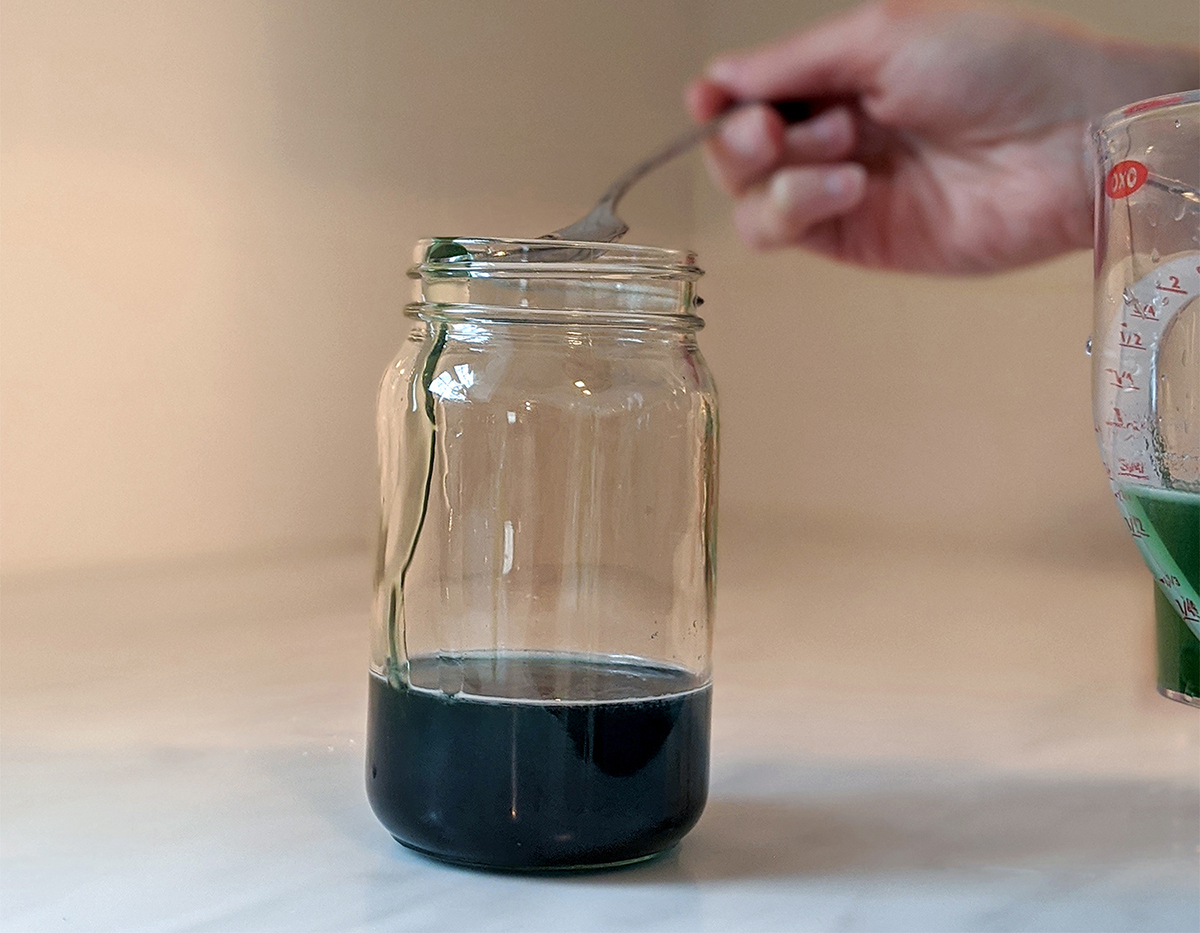
Here is where things get a little trickier than the first layer. Instead of pouring the green sugar water directly into the mason jar, you will want to take the teaspoon you used to dissolve the sugar in each glass to slowly drip the green water down the inside of the mason jar in a steady stream. (See picture for a visual.) Adding the green water in this way helps to keep the colored layers separate. You don't want a brown, muddied rainbow!
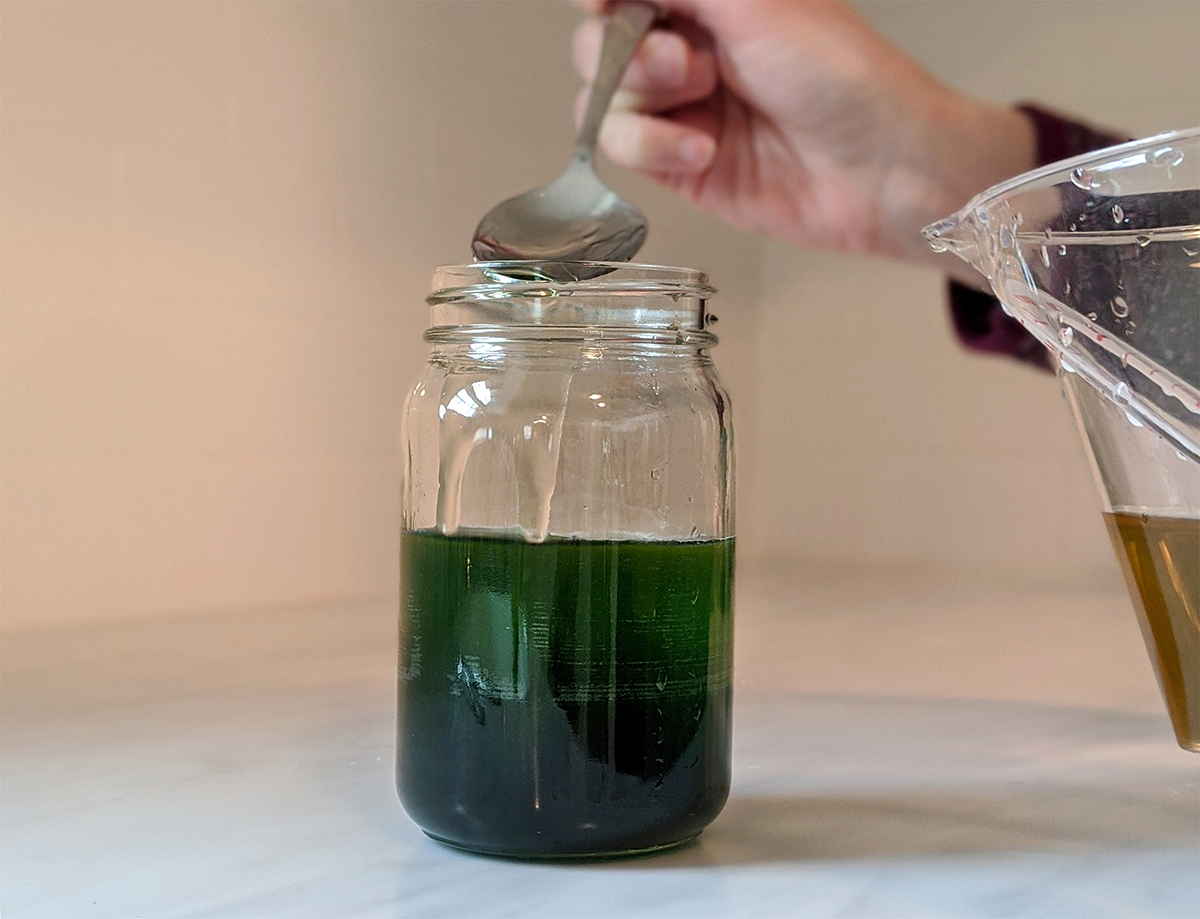
Once you have added your green sugar water, repeat this process with the yellow and red water, taking care to rinse the liquid measuring beaker and teaspoon each time you begin working with a new color.
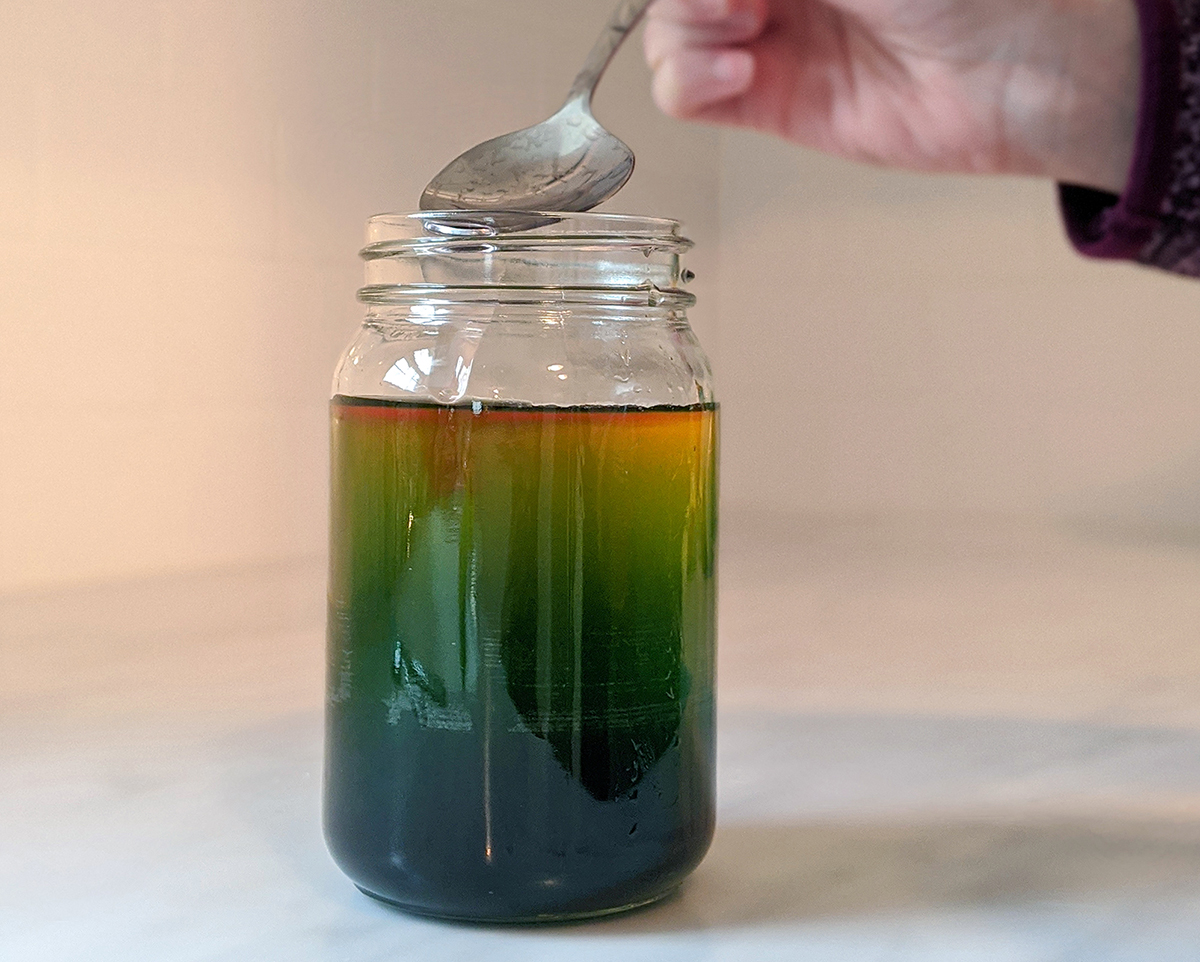
Your finished density rainbow will be beautiful to behold!
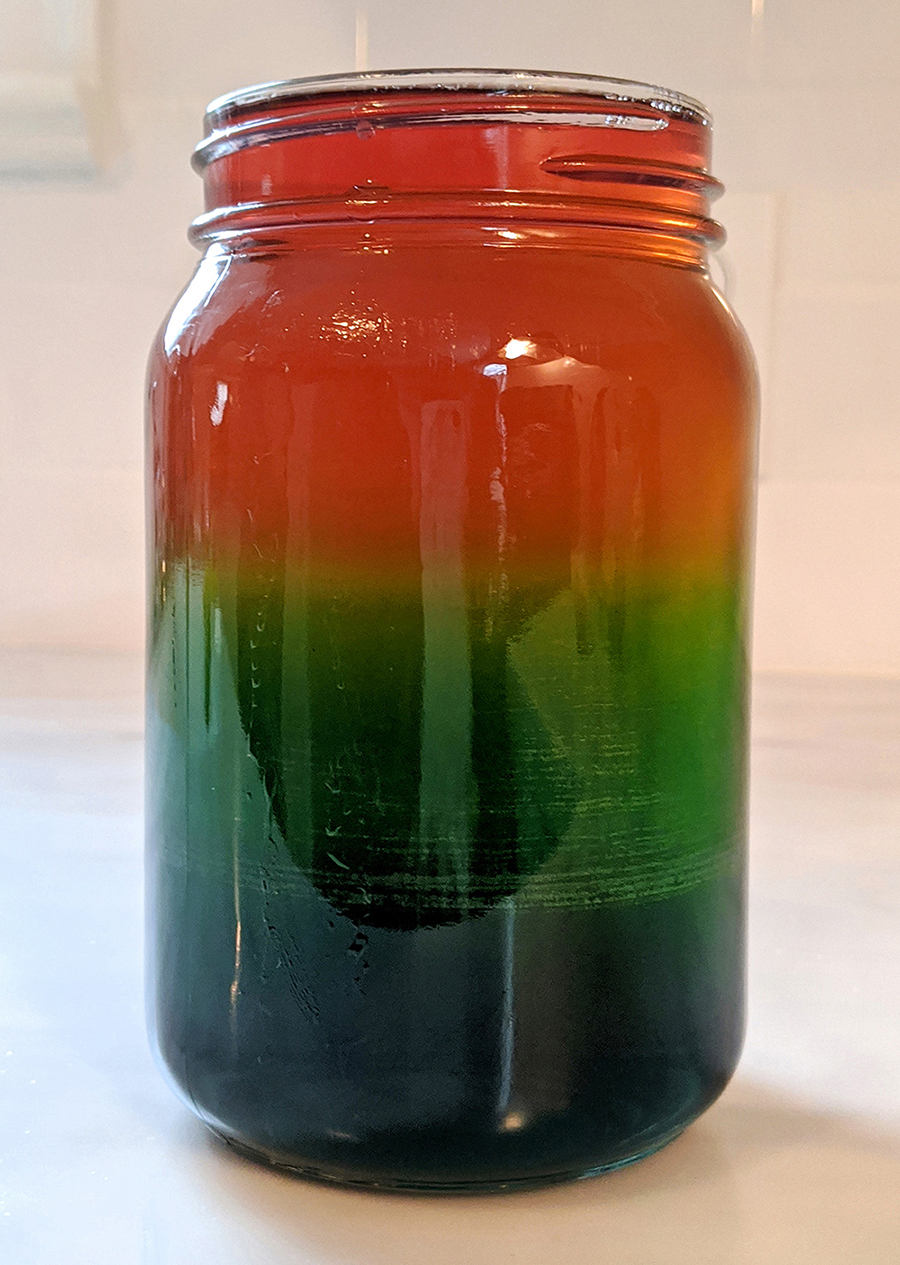
Wrap up the activity with a discussion of why the colored layers form in the jar. Ask your students to comment on which layer is the densest, which is the least dense, and what impacts the density of each colored layer.
Did you try this spring science experiment with your students? We want to hear from you! Leave us your feedback in the comment section below and remember to tag @superteacherworksheets on social media so we can check out your rainbows in a jar!
Looking for more fun spring-themed activities to do with your elementary students? Check out the Super Teacher Worksheets spring collection for more exciting seasonal activities!
You may also like: